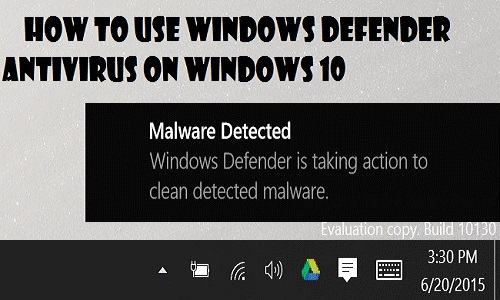
Windows Defender is one of the build in software on windows 10 operating system. It helps to provide security of spyware protection. Sometimes we want to install another better antivirus and also want to disable windows defender but on windows 10 everyone doesn’t know about it to disable and you are also one of them. So let’s go the process to disable it for permanently.

How To Turn off windows defender windows 10 permanently?
- First go to run command on your PC. You can go to run command by pressing ‘Ctrl+R’ button or you can search on your windows 10 search bar by typing ‘Run’ then you can see the run command and click on it.
- Now type ‘gpedit.msc’ and hit enter button. Now you will see new option came out and there group policy option available.
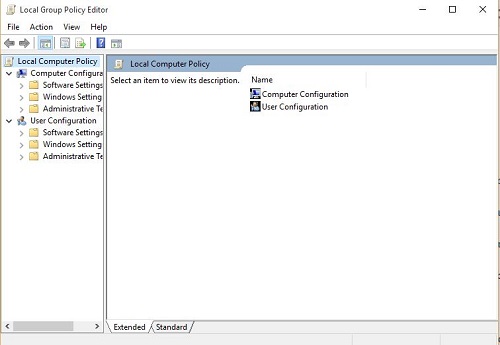
- Now go to ‘Administrative Templates’ tab which is located under ‘Computer Configuration’ section. Now click on ‘Windows Compoments’ menu and select ‘Windows Defender’ option.
- Now the final steps you need to find out the ‘Turn Off Windows Defender’ option and need to click on it. Now apply and save your work.
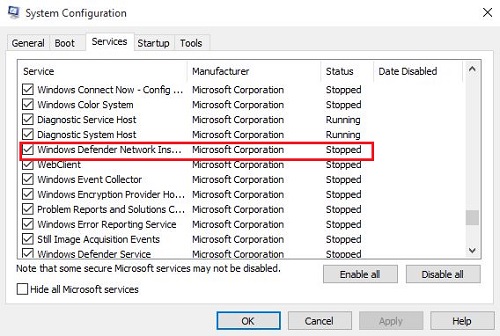
- Now type ‘msconfig’ on run command and go to ‘Services’ menu and stop windows defender if it is running. You may can check it again by task manager so at first you need to go task manager and go to services and can check the status of ‘WinDefend’ services if it is not stopped then you can click on left button on your mouse and use stop button.
By performing all of above steps your security protection will be stopped so that your PC can be attacked by any harmful thread easily so if you have any trusted good antivirus then you can process it otherwise it can be harmful and we are not responsible for it.
Thanks for reading and staying with us.