To setup VPN at first you have to a complete access of a server and you must need to have a administrator access on the windows 10 PC. So if you are agreed with that you can continue to the process.
How To Setup VPN Easily on Windows 10:
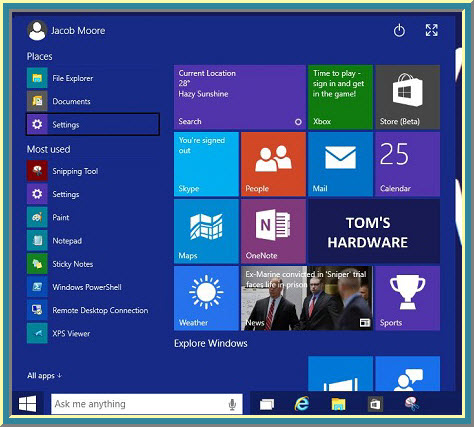
At first access your administrator account and go to start menu and select settings.
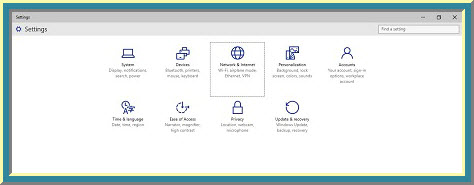
Now from this tab please select Network & Internet option.
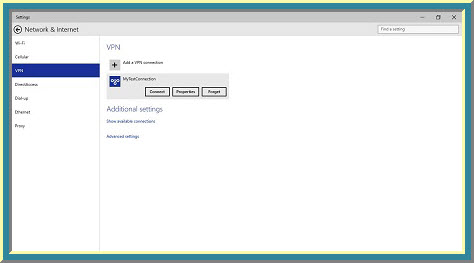
Now you can see the VPN menu from the left sidebar and select it. New options came out from the VPN menu and select Add a VPN connection from it.
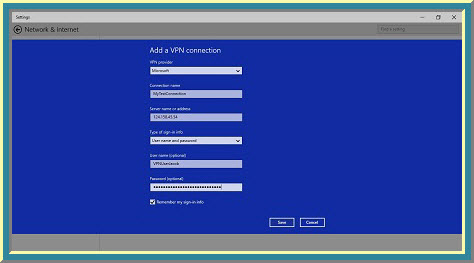
Now fill up the form following your server details and tick mark to the Remember my sign in info to save your coordinate information.
Now go back to the Network & Internet Tab and select your VPN profile. New option available to connect, properties and forget. So After clicking to the connect button your VPN will be connected or you can do it from your desktop notification bar so to do it you must need to click on connection icon and connect to your VPN.
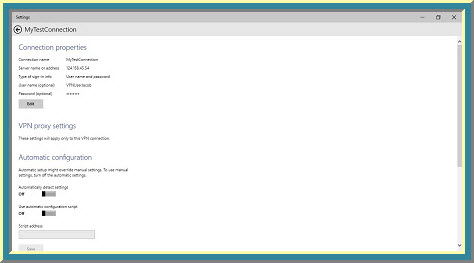
To change VPN setting you need to go on Network & Internet >> VPN>> Your VPN profile>> properties and configure it as you want.
[Note: To complete all the process at first you must need to have a still internet connection. Without a working connection your VPN will never connect with their server.]
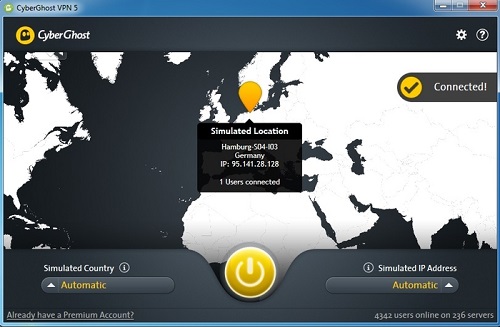
Read Also: Top 10 Best Free VPN for Windows
You can add multiple VPN profile on your computer and you must need to remember that You must need to use best VPN service for security reason.